
Latest Version
Download NowMore About Epson DX3850 Resetter
Epson DX3850 Resetter: A Comprehensive Guide to Restoring Printer Functionality
If you own an Epson DX3850 printer, you've likely encountered the dreaded "Ink Waste Pad Counter" error at some point. This error typically occurs after the printer has been used for an extended period, and it signals that the waste ink pads are full. While this can seem like a significant issue, there's a solution—using a resetter for the Epson DX3850. In this article, we'll walk you through the process of using a resetter to bring your Epson DX3850 back to life and explain its importance in maintaining the printer's longevity.
What is a Epson DX3850 Resetter?
A resetter for the Epson DX3850 is a software tool that can reset the printer's waste ink pad counter to zero. This counter keeps track of how much ink has been absorbed by the waste ink pads during regular printing tasks. Once the counter hits its limit, the printer halts all printing processes to prevent damage to the internal components. By using a resetter, you can manually reset this counter and continue using the printer without having to replace the waste ink pads.
Why is the Epson DX3850 Resetter Important?
Over time, as you print more documents, the waste ink pads, which collect excess ink during the printing process, become full. If left unresolved, this can cause your printer to stop functioning, presenting an obstacle to productivity. Without a resetter, you would need to replace the waste ink pads, a potentially costly and time-consuming process. The resetter, however, allows you to bypass this requirement temporarily by resetting the waste ink counter, allowing your printer to continue printing until you're ready to handle the physical maintenance.
How to Use the Epson DX3850 Resetter
To successfully use the Epson DX3850 Resetter, follow these steps carefully:
Step 1: Download the Resetter Tool
First, you'll need to download the Epson DX3850 Resetter software from a reputable source. Ensure that you're obtaining the tool from a trusted website to avoid malware and other security issues. The resetter is typically a small executable file that works with Windows operating systems.
Step 2: Install the Resetter Software
Once the software is downloaded, open the file and follow the installation instructions. Ensure that you install the software on the same computer that's connected to the Epson DX3850 printer.
Step 3: Connect the Printer
Before proceeding, ensure that the Epson DX3850 printer is connected to your computer via USB or through your network (depending on your setup). The printer should be powered on, and the error message related to the waste ink pads should be displayed on the printer’s screen.
Step 4: Run the Resetter Software
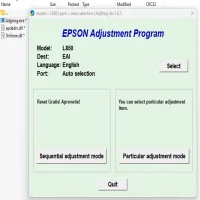
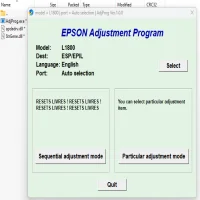
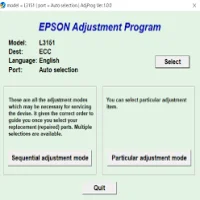
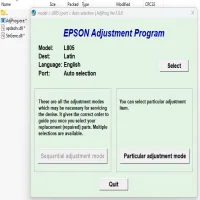
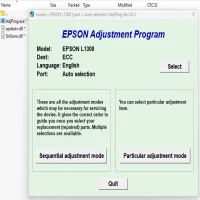
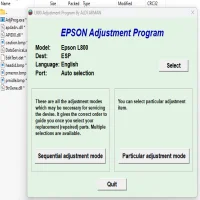
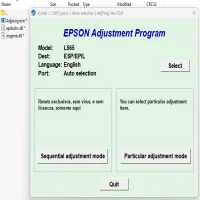
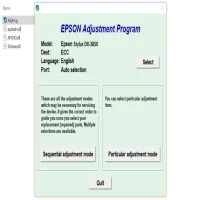
Launch the Epson DX3850 Resetter software and follow the on-screen instructions. The software may ask you to select your printer model from a list. Ensure you choose Epson DX3850 from the options available.
Step 5: Reset the Waste Ink Pad Counter
The software will then guide you through a series of options. Select the option to reset the waste ink pad counter. This action will reset the ink waste counter to zero, effectively "telling" your printer that the waste pads have been replaced or emptied.
Step 6: Restart Your Printer
After the reset is complete, restart your Epson DX3850 printer. The error message should disappear, and the printer will return to normal operation, allowing you to print without any issues related to the waste ink pads.
Things to Keep in Mind
- Temporary Fix: While the Epson DX3850 Resetter can temporarily solve the ink pad counter issue, it doesn't resolve the need for physical maintenance. Eventually, the waste ink pads will need to be replaced, but resetting the counter can buy you time.
- Use with Caution: Resetting the waste ink counter without addressing the physical ink waste pads can lead to ink spillage or potential internal damage if the pads are indeed full. It's recommended to use the resetter sparingly.
- Regular Maintenance: To ensure the longevity of your Epson DX3850, make it a habit to clean the printer regularly and replace the ink pads when necessary. This will keep the printer running smoothly and reduce the frequency of errors.
Conclusion
The Epson DX3850 Resetter is a valuable tool for keeping your printer functional and extending its life. It offers an easy, cost-effective way to reset the waste ink pad counter, preventing disruptions to your printing tasks. However, remember that this is only a temporary solution, and proper maintenance, including replacing the waste ink pads when needed, is essential to avoid long-term problems. By using the resetter responsibly and following good printer maintenance practices, you can continue enjoying smooth, hassle-free printing with your Epson DX3850.
Rate the App
User Reviews




Popular Apps